When I hear from people that they struggle to find exactly the lingerie they want, and I suggest that they make it themselves, I’m often met with the reply “I can’t sew”. Creating something intricate like a corset or underwired bra definitely requires specialist skills, but the truth is that if you can thread a needle, you can sew a few basic things or make minor alterations/enhancements.
Over the coming months I’m going to be posting a series of ‘DIY Lingerie’ articles, or ‘how to’ guides for the absolute beginner. Whether you’ve got basic clothing construction skills or you’ve never touched a sewing kit before, I promise that with these guides you’ll be able to make yourself some pretty bits and pieces for your lingerie drawer!
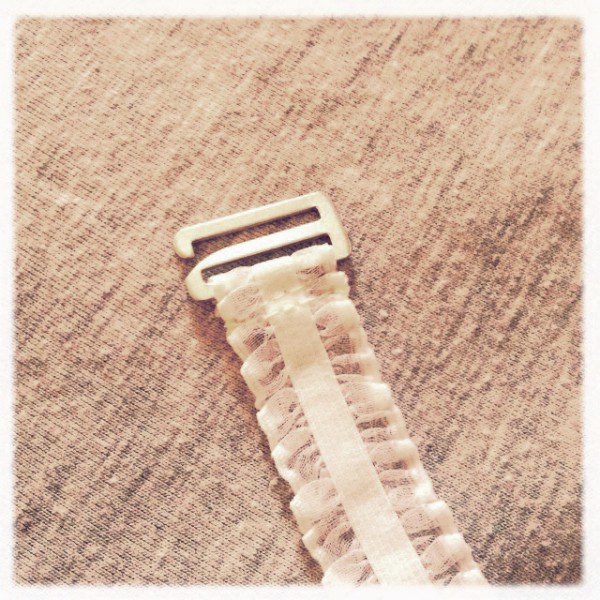
To start, I’m going for the easiest item of all to make – fixed-length suspenders. I found this beautiful elastic with a ruffled trim, but due to the ‘soft’ edge a slider wasn’t going to work so I made these suspenders non-adjustable, i.e. they can’t be made longer or shorter.
Here’s how to make your own pair…
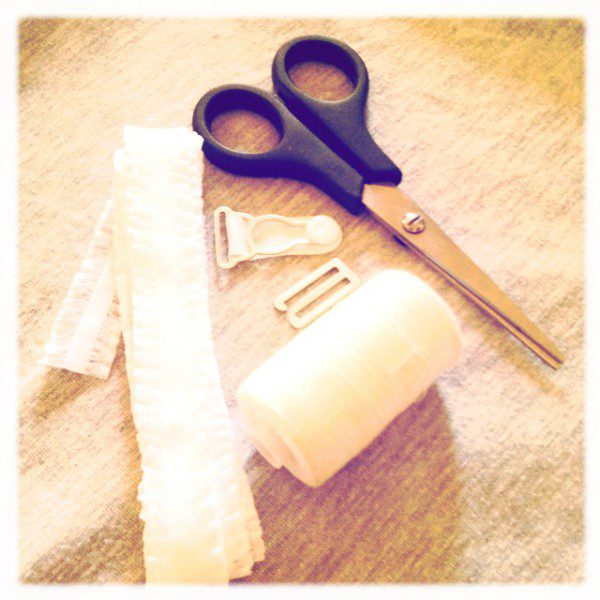
Step 1 – The Materials
Elastic
Fixed-length suspenders must be made from very stretchy elastic. Since a non-stretchy material has no ‘give’, it’s likely to pull too much on your stockings and tear them – or the knickers or corset the supenders are attached to!
Hooks
The hook is the part at the top of the suspender that attaches it to your knickers or corset, so you’ll need one per suspender. For nice, strong suspenders I’d recommend using metal, but plastic works too. The hold in the hook for the elastic to go through should be the same width as the elastic is.
Grips
The grip is the part at the end of your suspender that attaches to your stockings. Again, metal makes for a nice, strong suspender and the hole should be the same diameter as your elastic.
Thread
Since you’ll be sewing horizontally and the suspender only needs to stretch vertically, there’s no need to buy elasticated thread; simple cotton thread will do just fine. Use a thread the same colour as your elastic, unless you can sew meticulously (as mistakes will show!) and want to use a contrasting colour.
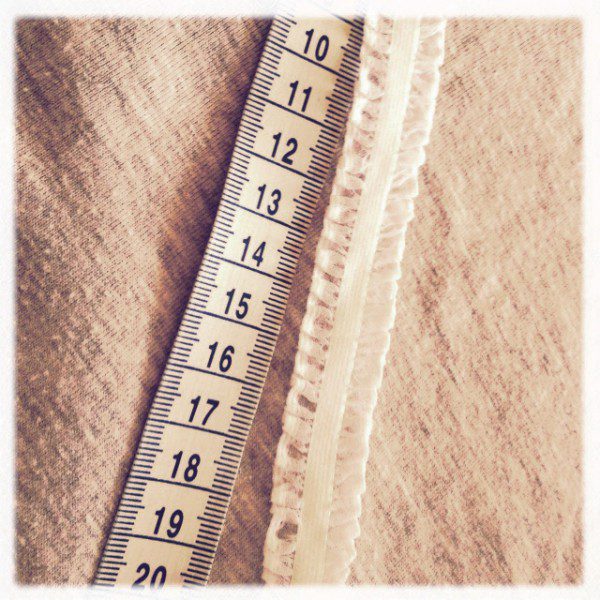
Step 2 – Cut the Elastic
1m is the perfect length to make a set of 4 regular suspenders, i.e. 25cm each. However if you want to make a set of 6, or you want them longer than usual, you’ll need to use a little more.
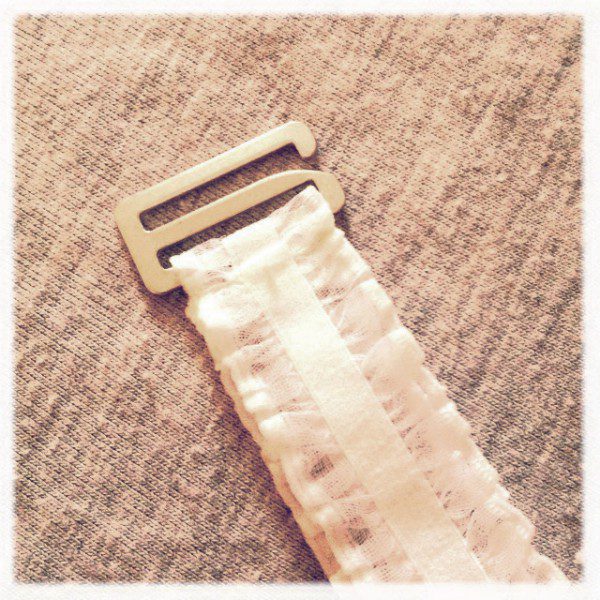
Step 3 – Add the Hook
Thread around 1cm your elastic through the gap on the hook. Fold it over twice (so that no raw edges are showing) and stitch it into place. I like to sew two lines across here, since suspenders have to put up with a certain amount of pressure and this makes them that little bit stronger.
When it comes to making subsequent suspenders, be sure to check that the hook is facing the same way each time you start!
Step 4 – Add the Grip
Thread the elastic through the hole on the grip. If your folded-over bit of elastic is face-down, the grip should be face-up. Fold over the other end of the elastic and sew it into place over the previous stitching, next to the hook.
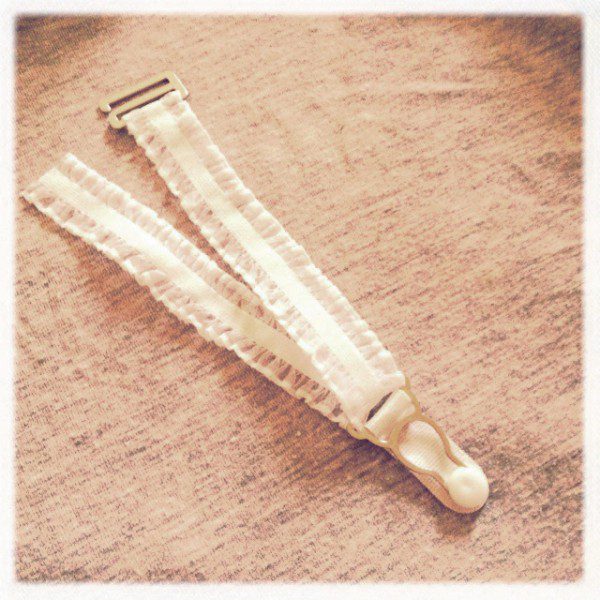
That’s all there is to it – four steps and you’ve made your first suspender! If you want, you can enhance them with a cute finishing detail such as the blue satin bows I added to these white suspenders, giving them a beautiful bridal appearance. Sparkly beads or flowers work well too!
I hope you found this guide useful. If you use it to make your own suspenders I’d love to see the result – send in a photo to info@estylingerie.com and I’ll feature it on the blog!


1 comment
Thanks for the post. awesome!