
Do you struggle to find bra bands small enough to fit you well? Or have you ever snagged a sale or eBay bargain in almost-but-not-quite-your-size and wished the band were a bit tighter? Today’s post is for you!
There are a few ways to shorten a bra band, from folding the fabric to the no-sew Rixie Clip. However many of these methods will make your bra look different or add bulk to the band. The tutorial below is designed to shorten the band without changing the appearance of your bra in any noticeable way. All you need is thread, a pair of fine-pointed embroidery scissors (or a stitch-unpicker), and your choice of a sewing needle or sewing machine.
Note: the eagle-eyed amongst you may already have noticed the item in the photos isn’t a bra. It’s a suspender belt which is all I had that needed shortening right now, but the process is the same regardless.
Step 1 – Decide how much you’re going to shorten by
It’s up to you how you want to do this, but obviously you need a clear idea of how much you’ll be shortening the bra band by before you start. This method involves scissors so there’s no going back! I simply pop the bra on backwards, pinch the band until it’s comfortably tight, and use a tape measure to see exactly how much excess band length I’ve gathered up.
Step 2 – Unpick the stitching on the hooks and eyes
The reason you want to unpick the stitching rather than just chop them off is that you’ll need to reattach them – the hook-and-eye components have two layers with the bra band sandwiched between, so you’ll need to remove whatever bit of band is in there and open them back up.
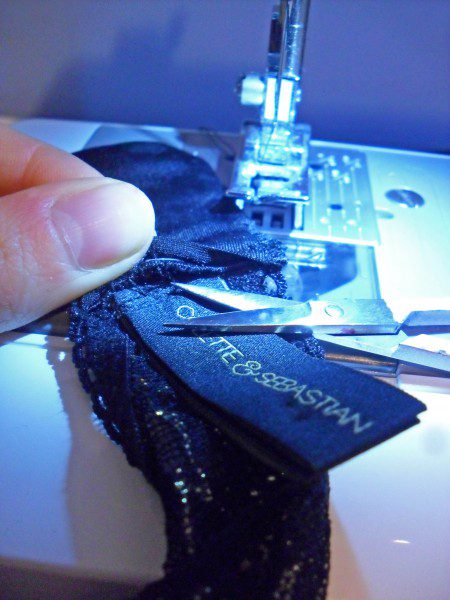
Using a stitch unpicker or very fine scissors, slot them between the hook or eye component and the band, and cut/rip those stitches. Be careful not to damage the hook/eye part, but don’t worry if you damage the band fabric as you’ll be chopping the end off anyway.
The hook/eye part will be sewn on with a [ shaped row of stitches. I start with the long row of stitches because that may be all you need to undo to ease the band out, but depending on how it’s been sewn in you might need to undo the stitching around the corners too.
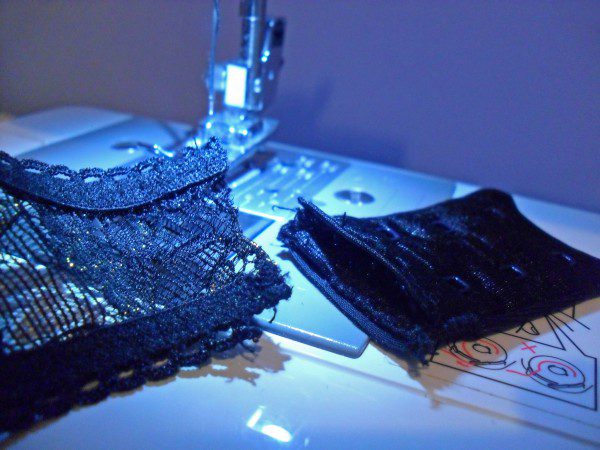
Step 3 – Cut the band down to size
Now comes the scary part – it’s scissor time! Chop away the band you don’t need, ensuring you cut the same off of both sides – you’ll end up with a wonky, off-centre fastening otherwise.
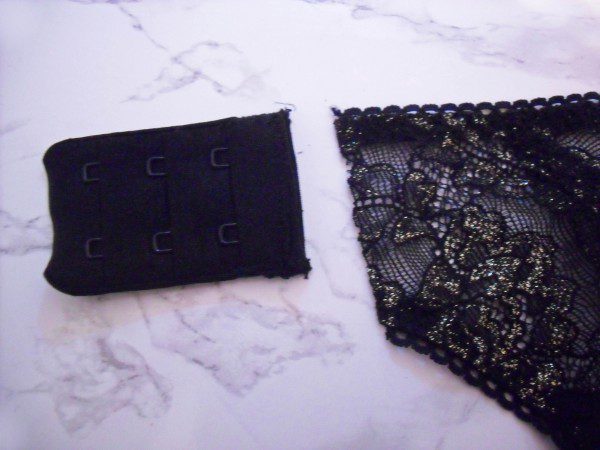
If you’re lucky, your bra will have a very straight-across, rectangular band and you can skip ahead to step 5. Sometimes though your bra band will curve and get wider as it wraps around the body, and the new end will be too tall to fit into the hook/eye without a little adjustment. If you sew it back in without fixing that first, it will wrinkle and look less neat so move on to step 4.

Step 4 – Make the band end narrower
Unpick the stitching securing the elastic to the curved, top side of the band back to where the strap attaches. Without cutting the elastic, trim the fabric down until it is the right width for the hook/eye component.
Eventually, you want the band just a tad narrower than the hook/eye part so that it fits inside, but don’t forget that you’ll need to fold the edge of the fabric over to sew the elastic back on which will make it even narrower. So I generally just cut it to the exact same width as the hook/eye part and then fold the edge.
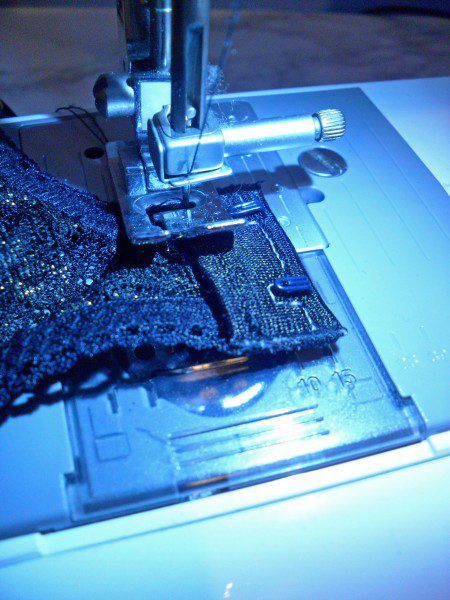
Pin the folded edge back onto the elastic and secure it in place with a zig-zag stitch.

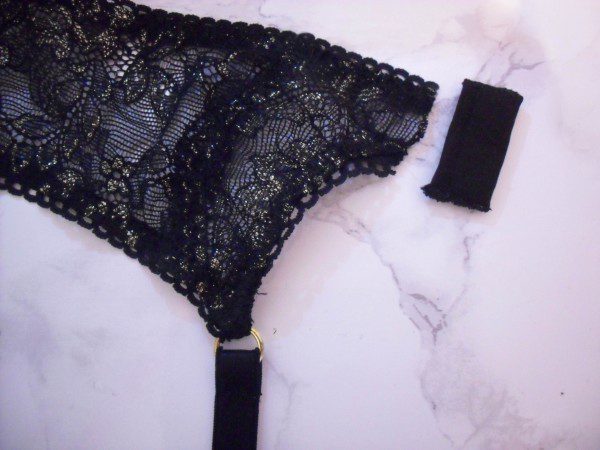
Step 5 – Sew the hook and eye pieces back on
The final step is to simply slot the new band ends back into the hook and eye pieces (make sure they’re the correct way up – hooks face up and eyes face down when you’re looking at the outside of the bra) and sew securely in place. Remember to also slot the label back in if you removed that earlier and still want it.
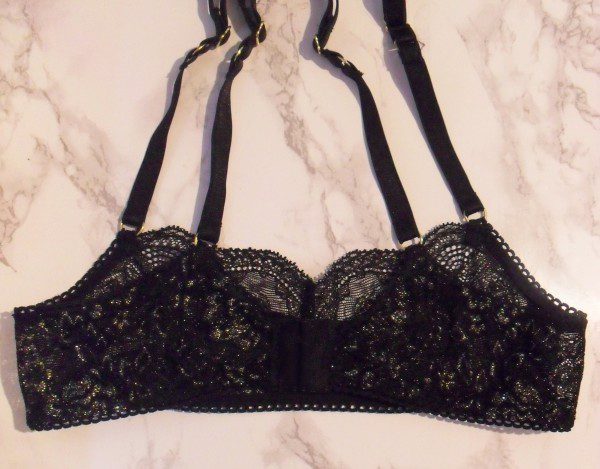
Ta-da, your bra band (or in my case suspender belt) has now been shortened!
I hope you’ve found this post useful! I ran a poll at the end of 2016 asking what kind of content you want more of and sewing guides was the clear winner, so I’m planning to do more customisation guides like this as well as new tutorials on sewing different lingerie items from scratch.
Is there anything you’d like to learn how to adjust or sew in particular?

4 comments
What great timing. I have a red suspender belt that needs to be made smaller at the waist. Thanks for posting the instructions.
Thanks for posting! Real informative
Hello there! Thanks for this great and informative article on shortening sports bra straps. I don’t have a sewing machine so I have to do everything by hand but I don’t think that will be an issue. What I would love to see is some diy on adding thumbholes to long sleeve shirts. Thanking you kindly. Appreciate your time!
Hi, we’re totally focused on lingerie here, so you’ll need to look for that thumbhole tutorial elsewhere. There are some more lingerie-related sewing guides coming soon though!